Ubuntu部署Nexus私有仓库
简介
Nexus 是一个强大的Maven 仓库管理器,它极大地简化了自己内部仓库的维护和外部仓库的访问
安装Nexus
1、下载包
此次安装部署在Ubuntu系统下。系统版本为Ubuntu-20.04.2 LTS。nexus需要用到jdk环境,这里采用jdk8的环境即可。官网下载地址:https://help.sonatype.com/en/download-archives---repository-manager-3.html。选择包时也选择jdk8的即可如下图
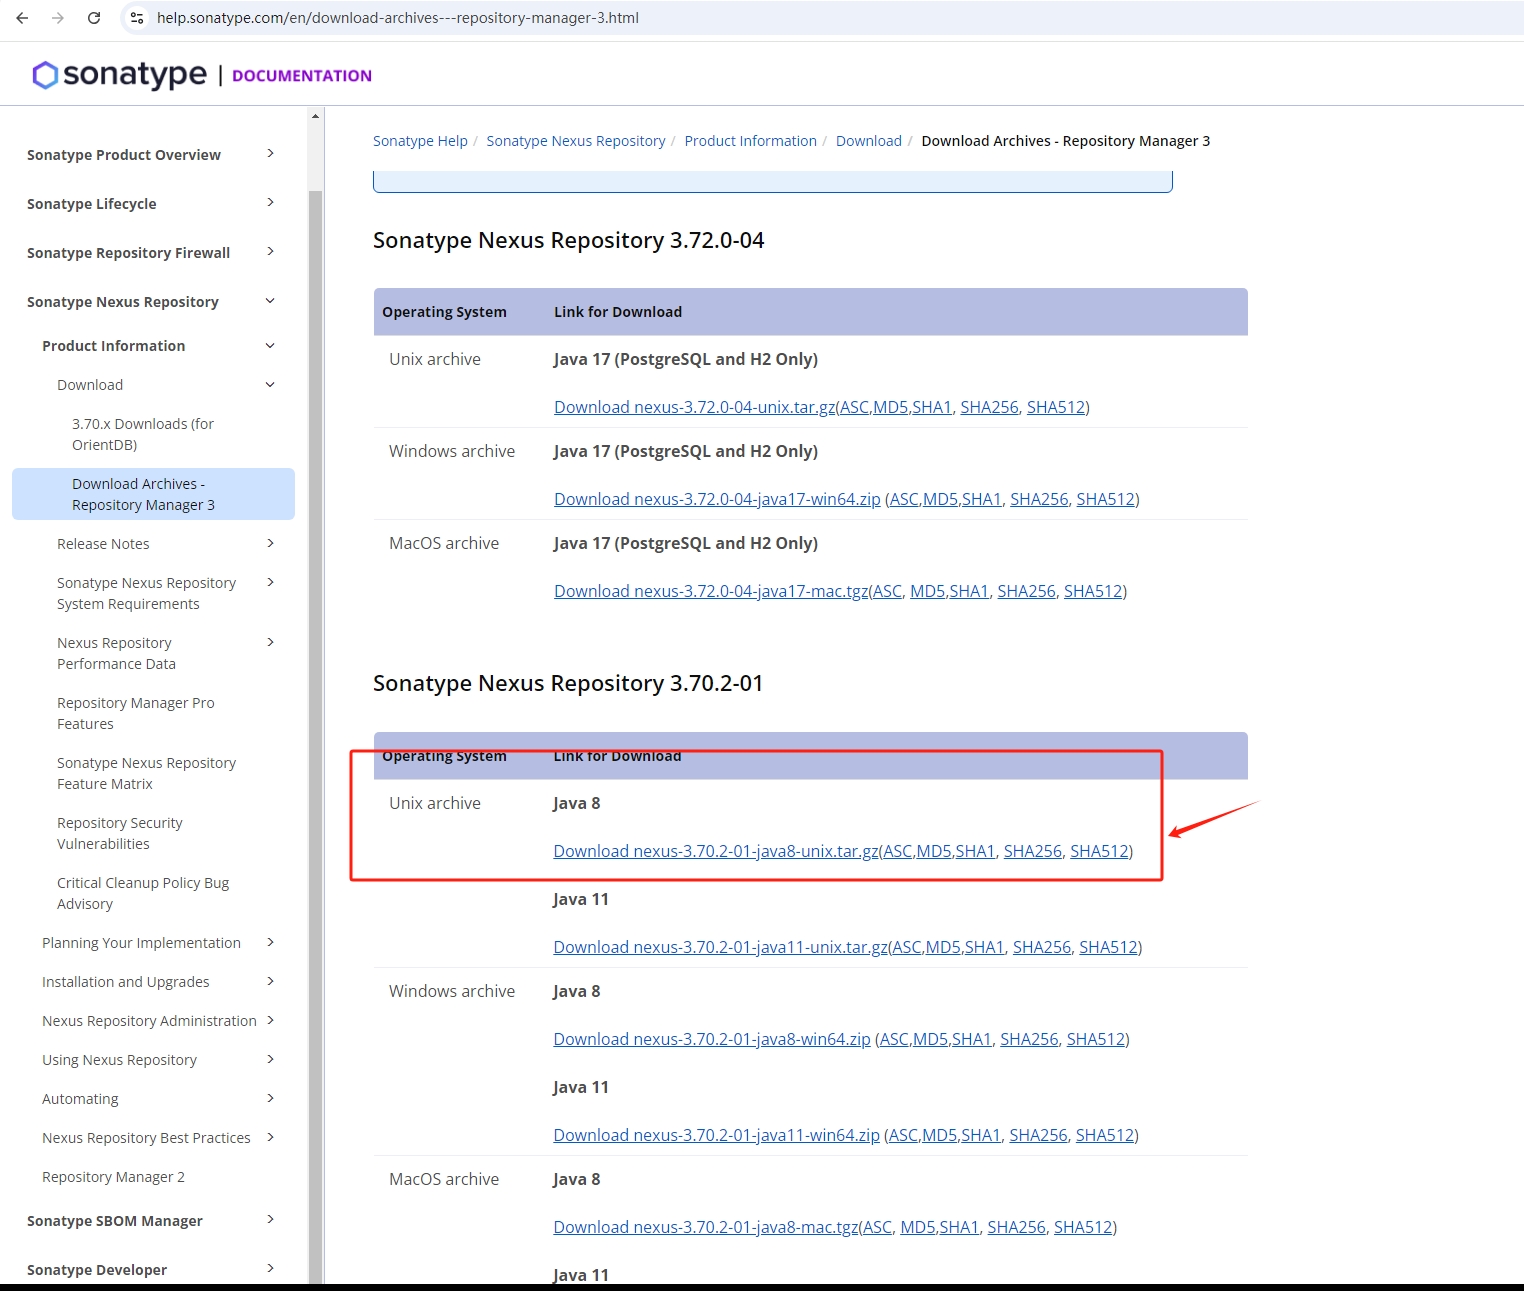
下载完后传到服务器上进行解压,或者直接在服务器上使用wget方式下载不过这种访问有时候下载慢。
2、解压包
1
2
3
4
| root@k8s-master01:/app/soft# wget https://download.sonatype.com/nexus/3/nexus-3.70.2-01-java8-unix.tar.gz
root@k8s-master01:/app/soft# tar xf nexus-3.70.2-01-java8-unix.tar.gz
root@k8s-master01:/app/soft# ls
nexus-3.70.2-01 nexus-3.70.2-01-java8-unix.tar.gz sonatype-work
|
3、创建软连接
创建软连接是方便后续升级。部署是采用二进制的方式后续只需要把这个软连接重新指向新版本的包路径即可
1
2
3
4
5
6
7
8
9
10
11
12
13
14
15
16
17
| root@k8s-master01:/app/soft# ln -s /app/soft/nexus-3.70.2-01 /usr/local/nexus
root@k8s-master01:~# ll /usr/local/
total 44
drwxr-xr-x 11 root root 4096 Oct 3 09:46 ./
drwxr-xr-x 14 root root 4096 Feb 2 2021 ../
drwxr-xr-x 3 root root 4096 Sep 6 16:16 bin/
drwxr-xr-x 2 root root 4096 Feb 2 2021 etc/
drwxr-xr-x 2 root root 4096 Feb 2 2021 games/
drwxr-xr-x 2 root root 4096 Feb 2 2021 include/
lrwxrwxrwx 1 root root 28 Sep 6 16:12 jdk -> /usr/local/src/jdk1.8.0_201/
drwxr-xr-x 3 root root 4096 Feb 2 2021 lib/
lrwxrwxrwx 1 root root 9 Feb 2 2021 man -> share/man/
lrwxrwxrwx 1 root root 25 Oct 3 09:46 nexus -> /app/soft/nexus-3.70.2-01/
drwxr-xr-x 2 root root 4096 Feb 2 2021 sbin/
drwxr-xr-x 4 root root 4096 Feb 2 2021 share/
drwxr-xr-x 5 root root 4096 Sep 10 22:10 src/
drwxr-xr-x 3 root root 4096 Sep 6 16:16 Worker/
|
4、创建启动文件
由于是采用二进制部署的在对nexus进行启动、停止操作不方便。需要创建一个启动service文件来管理
1
2
3
4
5
6
7
8
9
10
11
12
13
14
15
| root@k8s-master01:/app/soft# vim /lib/systemd/system/nexus.service
[Unit]
Description=nexus service
After=network.target
[Service]
Type=forking
ExecStart=/usr/local/nexus/bin/nexus start
ExecStop=/usr/local/nexus/bin/nexus stop
User=root
Restart=on-abort
[Install]
WantedBy=multi-user.target
|
5、启动nexus
1
2
3
4
5
6
7
8
9
10
11
12
13
14
15
16
17
18
19
| root@k8s-master01:/app/soft# systemctl daemon-reload
root@k8s-master01:/app/soft# systemctl start nexus
root@k8s-master01:/app/soft# tail -f /var/log/syslog
Oct 3 10:05:15 k8s-master01 systemd-udevd[509]: Network interface NamePolicy= disabled on kernel command line, ignoring.
Oct 3 10:05:15 k8s-master01 nexus[2654]: WARNING: ************************************************************
Oct 3 10:05:15 k8s-master01 nexus[2654]: WARNING: Detected execution as "root" user. This is NOT recommended!
Oct 3 10:05:15 k8s-master01 nexus[2654]: WARNING: ************************************************************
Oct 3 10:05:15 k8s-master01 nexus[2654]: Starting nexus
Oct 3 10:05:15 k8s-master01 systemd[1]: Started nexus service.
root@k8s-master01:/app/soft# ss -tnl
State Recv-Q Send-Q Local Address:Port Peer Address:Port Process
LISTEN 0 1 127.0.0.1:34351 0.0.0.0:*
LISTEN 0 50 0.0.0.0:8081 0.0.0.0:*
LISTEN 0 4096 127.0.0.53%lo:53 0.0.0.0:*
LISTEN 0 128 0.0.0.0:22 0.0.0.0:*
LISTEN 0 128 127.0.0.1:6010 0.0.0.0:*
LISTEN 0 128 [::]:22 [::]:*
LISTEN 0 128 [::1]:6010 [::]:*
|
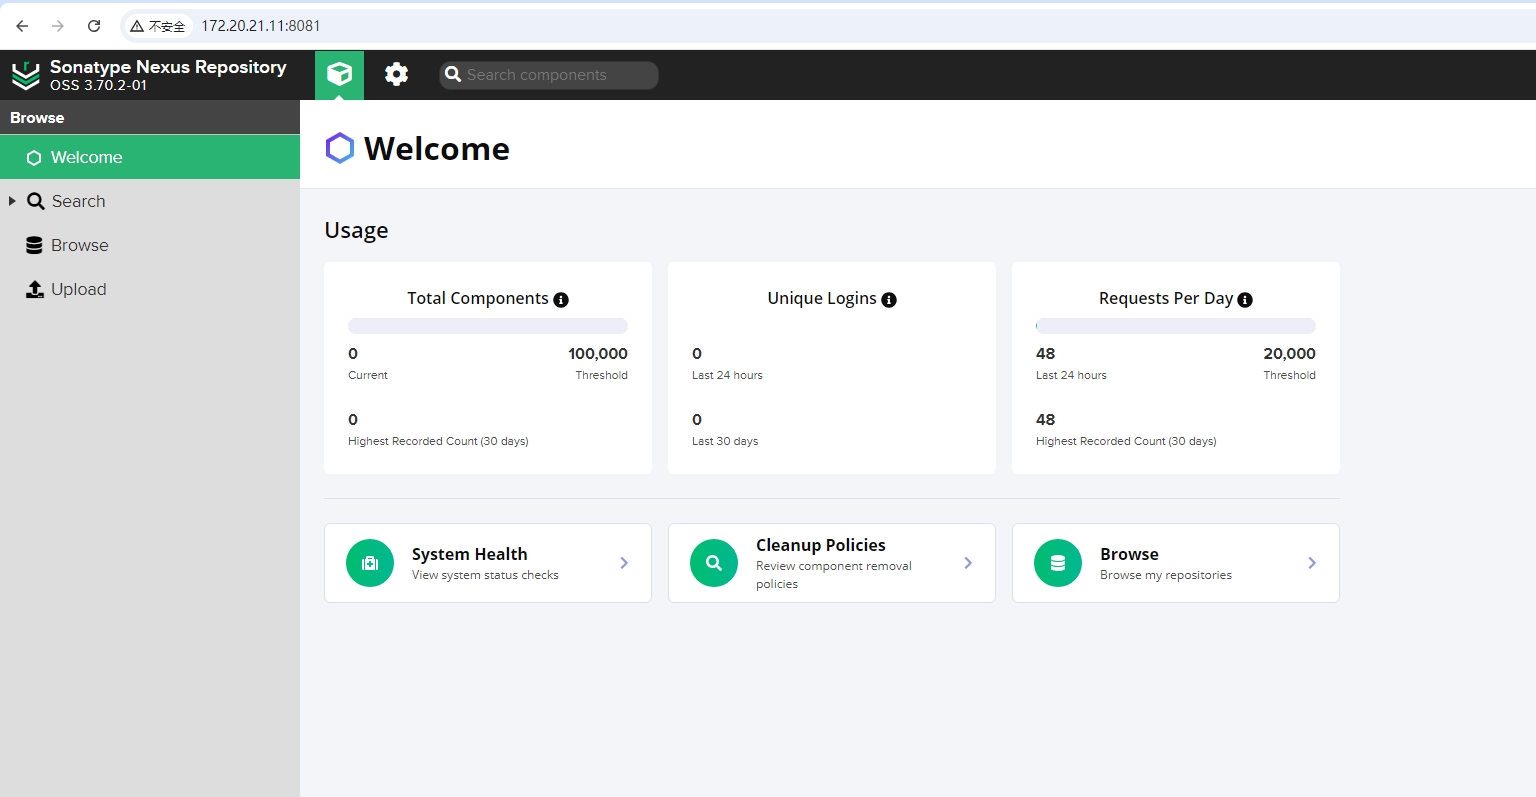
6、访问nexus
在浏览器中输入服务器地址加8081端口:http://172.20.21.11:8081/
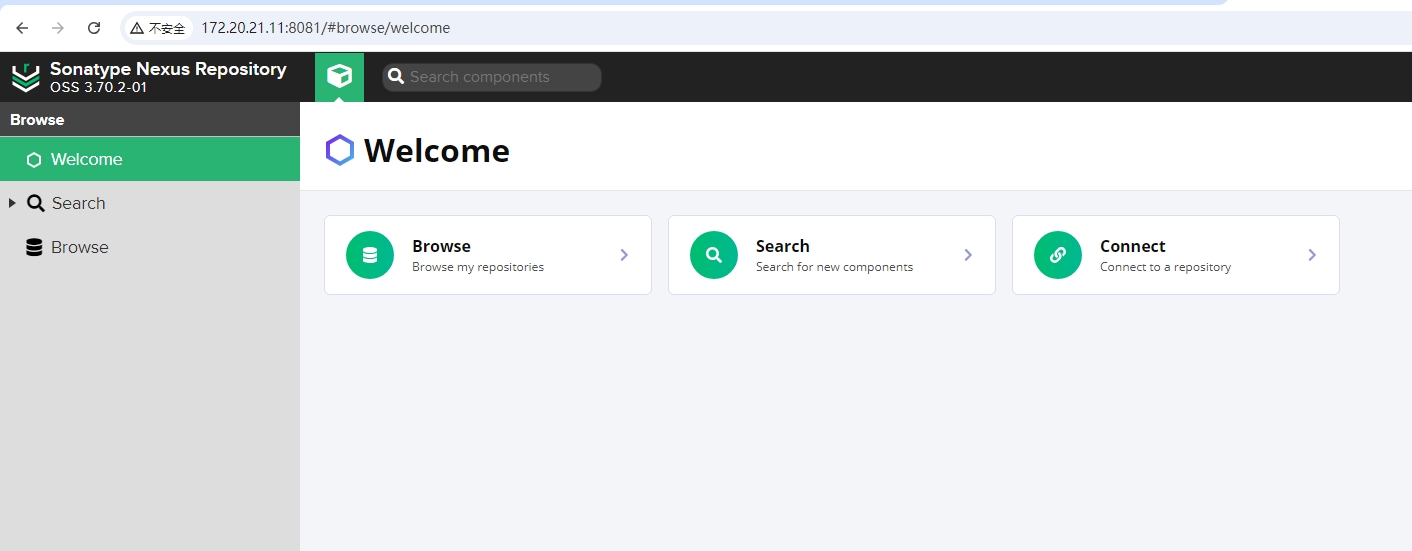
6.1、配置nexus
访问后看到的界面权限只有只读访问的,无法进行其他设置。
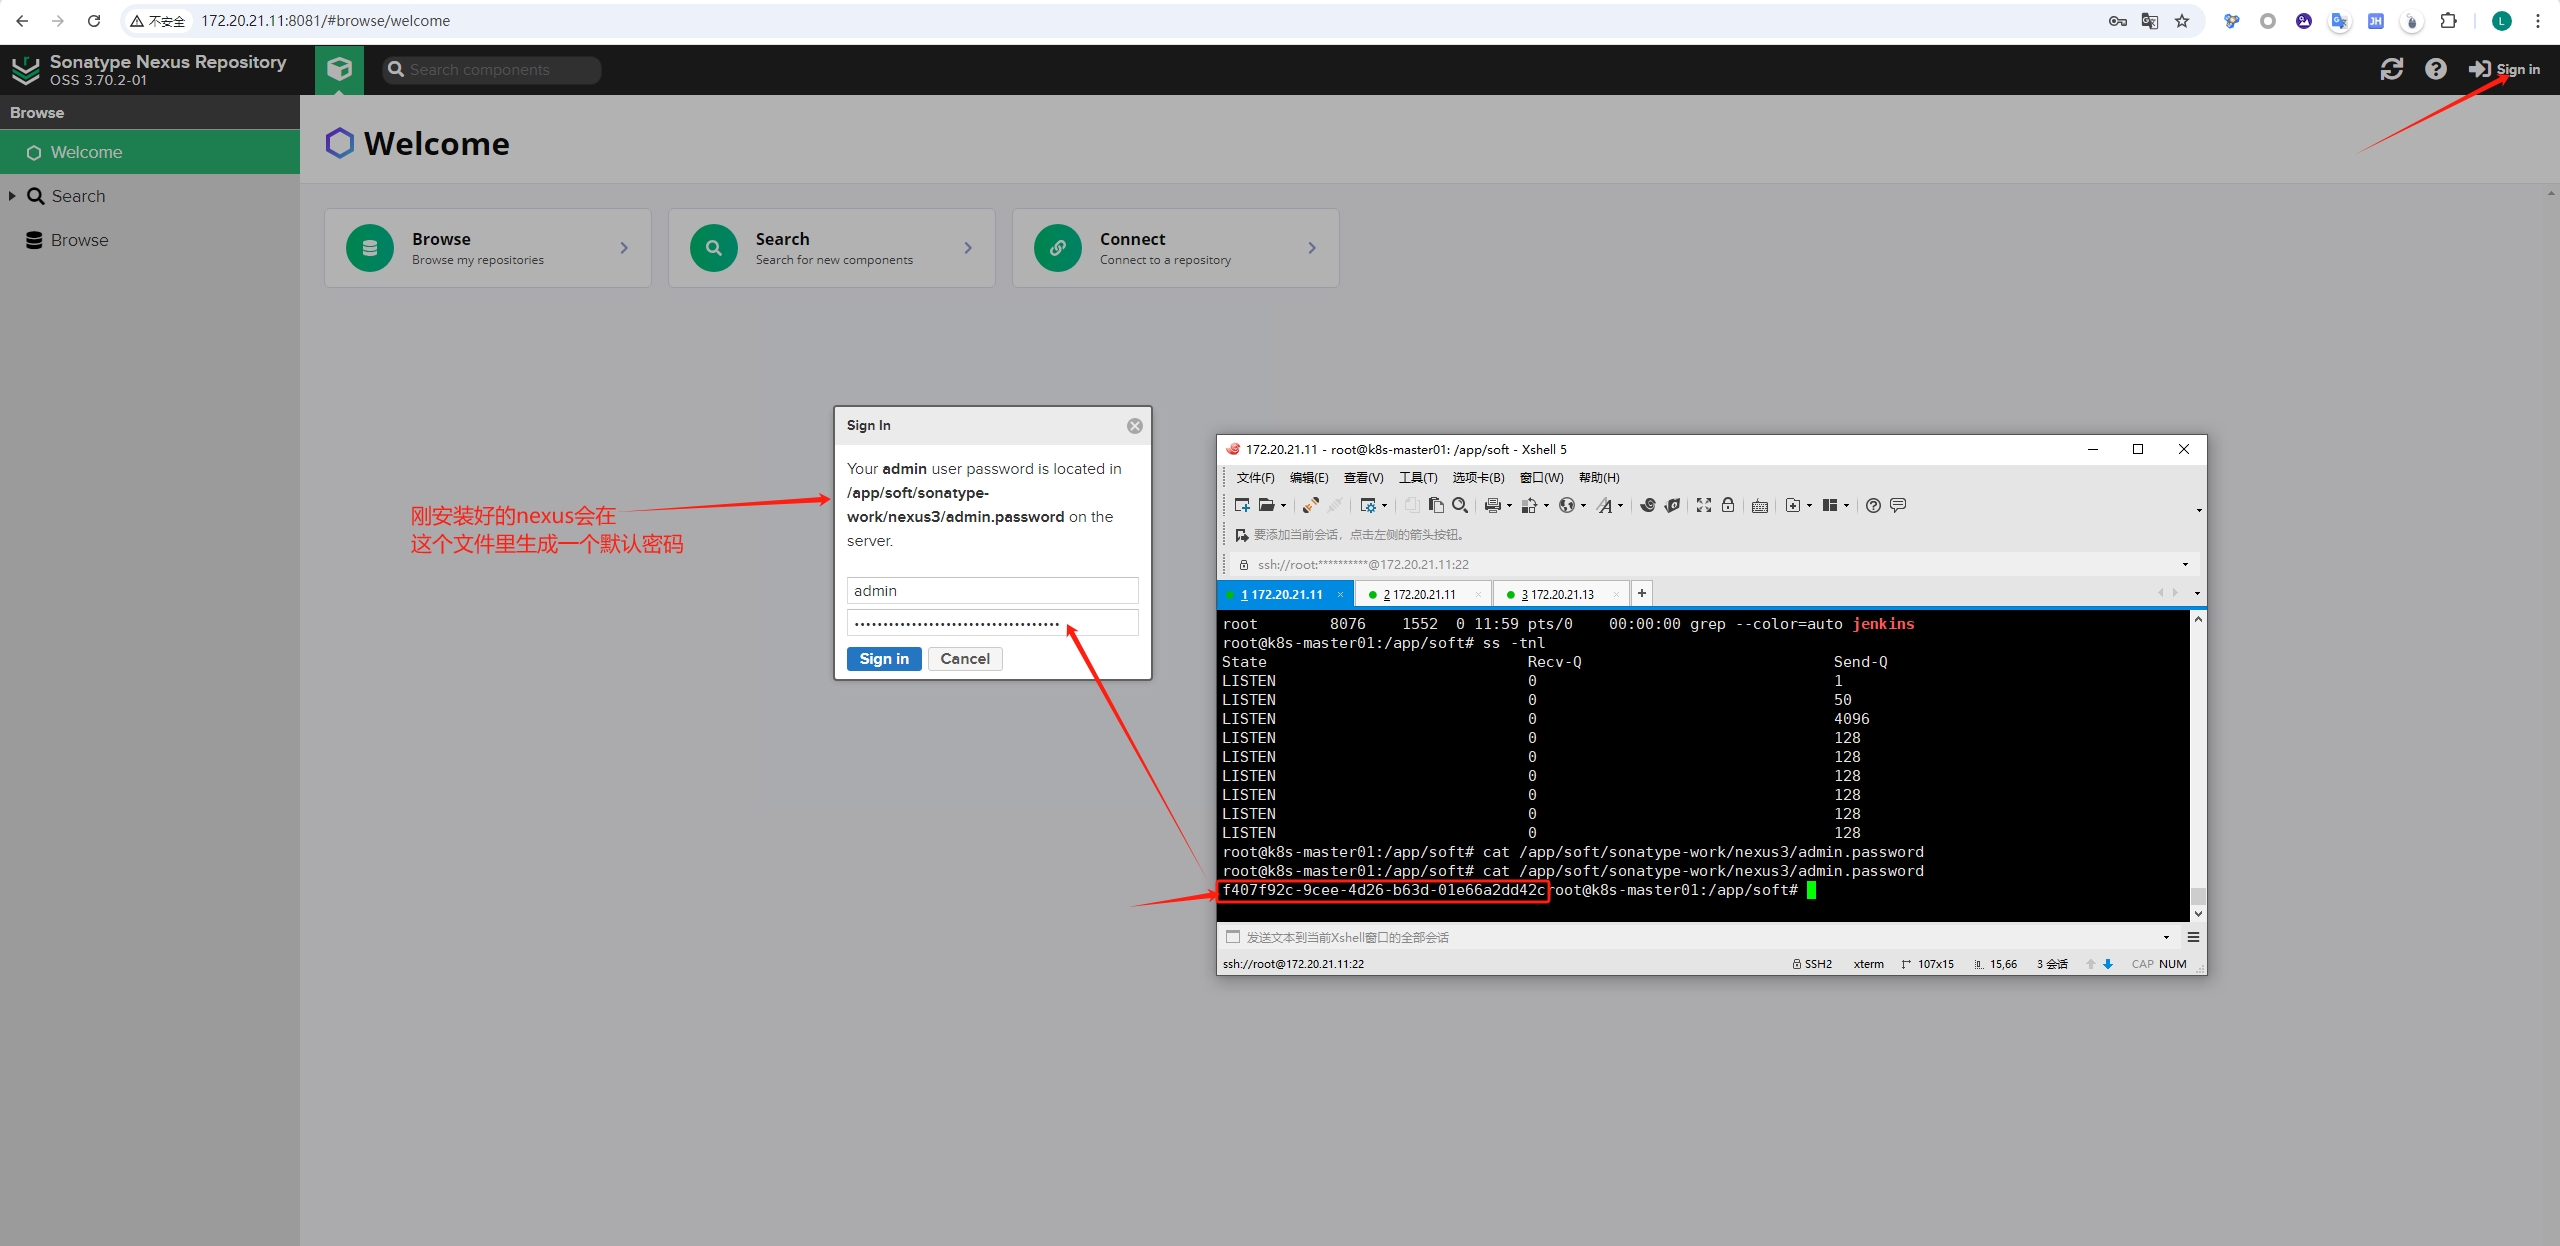
根据上图登录后会提示进行初始化设置
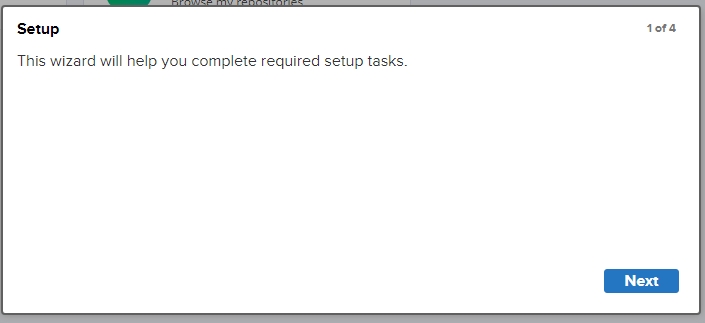
设置登录密码

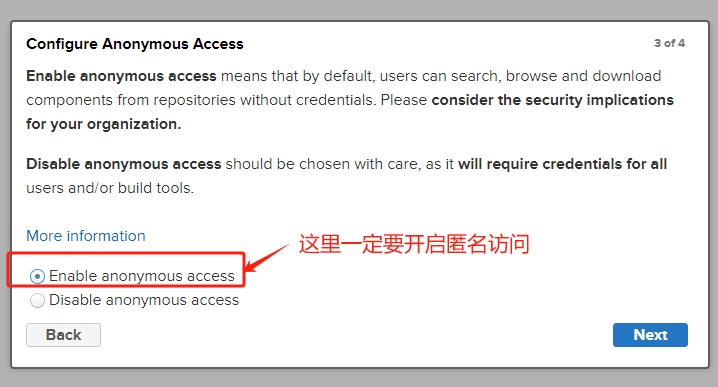
开启匿名访问
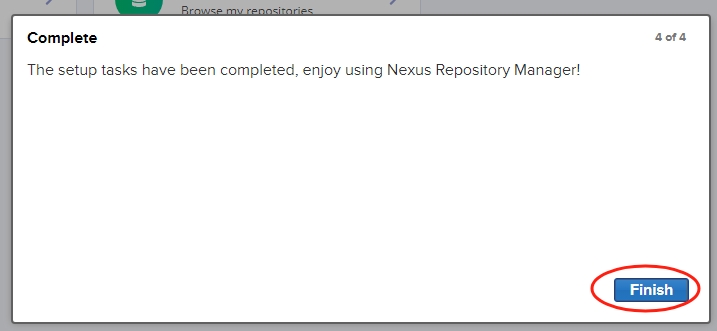
完成配置
后续如何利用Nexus充当内网yum、apt源