使用kubeasz部署k8s集群 一、服务器说明
类型
服务器IP
备注
ansible(2台)
172.20.17.23
ansible部署k8s服务器,可以和其他服务器混用
K8S Master(3台)
172.20.17.11/12/13
k8s控制器、通过一个VIP做主备高可用
harbor(1台)
172.20.17.24
Harbor镜像服务器
Etcd(最少3台)
172.20.17.17/18/19
保存k8s集群数据的服务器
hproxy-VIP(2台)
172.20.17.21/22
高可用负载服务器
node节点(2-N台)
172.20.17.14/15/16
真正运行容器的服务器,高可用环境至少两台
二、服务器准备
类型
服务器IP
主机名
VIP
K8S-Master-01
172.20.17.11
k8s-master-11
172.20.17.188
K8S-Master-02
172.20.17.12
k8s-master-12
172.20.17.188
K8S-Master-03
172.20.17.13
k8s-master-13
172.20.17.188
Harbor1
172.20.17.24
harbor-24
etcd-1
172.20.17.17
k8s-etcd-17
etcd-2
172.20.17.18
k8s-etcd-18
etcd-3
172.20.17.19
k8s-etcd-19
HA-1
172.20.17.21
k8s-vip-21
HA-2
172.20.17.22
k8s-vip-22
Node节点1
172.20.17.14
k8s-node-14
Node节点2
172.20.17.15
k8s-node-15
Node节点3
172.20.17.16
k8s-node-16
三、基础环境准备 3.1 基础配置 3.1.1 禁用swap 1 2 3 4 5 6 7 8 9 10 11 12 13 14 15 # ubuntu 禁用swap 在/etc/fstab里先把/dev/disk/by-uuid/406825f5-6869-44eb-8446-34e069238059 none swap sw 0 0,在sw后面添加noauto字段然后把最后/swap.img注释后保存重启 # /etc/fstab: static file system information. # # Use 'blkid' to print the universally unique identifier for a # device; this may be used with UUID= as a more robust way to name devices # that works even if disks are added and removed. See fstab(5). # # <file system > <mount point > <type > <options > <dump > <pass > # / was on /dev/sda4 during curtin installation # /boot was on /dev/sda2 during curtin installation #/swap.img none swap sw 0 0
3.1.2 内核参数优化 1 2 3 4 5 6 7 8 9 10 11 12 13 14 15 16 17 18 19 20 21 22 23 24 25 26 27 28 29 30 31 32 33 34 35 36 37 38 39 40 41 42 root@k8s-vip-21:~# cat /etc/sysctl.conf_forward = 1 net.bridge.bridge-nf-call-iptables = 1 net.bridge.bridge-nf-call-ip6tables = 1 net.bridge.bridge-nf-call-arptables = 1 net.ipv4.tcp_ tw_reuse = 0 net.core.somaxconn = 32768 net.netfilter.nf_ conntrack_max = 1000000 vm.swappiness = 0 vm.max_ map_count = 655360 fs.file-max = 6553600 # 在执行sysctl -p 有几项会报错 root@k8s-vip-21:~# sysctl -p net.ipv4.ip_ forward = 1_tw_ reuse = 0_conntrack_ max: No such file or directory_map_ count = 655360_netfilter root@k8s-vip-21:~# lsmod |grep conntrack root@k8s-vip-21:~# modprobe ip_ conntrack_conntrack 139264 0 nf_ defrag_ipv6 24576 1 nf_ conntrack_defrag_ ipv4 16384 1 nf_conntrack libcrc32c 16384 3 nf_ conntrack,btrfs,raid456_forward = 1 net.bridge.bridge-nf-call-iptables = 1 net.bridge.bridge-nf-call-ip6tables = 1 net.bridge.bridge-nf-call-arptables = 1 net.ipv4.tcp_ tw_reuse = 0 net.core.somaxconn = 32768 net.netfilter.nf_ conntrack_max = 1000000 vm.swappiness = 0 vm.max_ map_count = 655360 fs.file-max = 6553600
3.1.3 资源限制优化 1 2 3 4 5 6 7 8 9 10 11 12 13 14 15 16 17 18 19 20 21 22 23 24 25 26 # 其他机器上都一样这里只复制其中一份即可其他的通过scp拷贝过去即可 # End of file # # * soft core unlimited* hard core unlimited* soft nproc 1000000* hard nproc 1000000* soft nofile 1000000* hard nofile 1000000* soft memlock 32000* hard memlock 32000* soft msgqueue 8192000* hard msgqueue 8192000
3.1.4 高可用HA 3.1.4.1 安装keepalived haproxy服务 1 2 root@k8s-vip-21:~# apt -y install keepalived haproxy
3.1.4.2 配置keepalived 1 2 3 4 5 6 7 8 9 10 11 12 13 14 15 16 17 18 19 20 21 22 23 24 25 26 27 28 29 30 31 32 33 34 35 36 37 38 39 40 41 42 43 44 45 46 47 48 root@k8s-vip-21:~# vim /etc/keepalived/keepalived.conf_defs { notification_ email { acassen } notification_email_from Alexandre.Cassen@firewall.loc smtp_server 192.168.200.1 smtp_connect_timeout 30 router_id LVS_DEVEL } _instance VI_ 1 { state MASTER interface eth0 garp_master_delay 10 smtp_alert virtual_router_id 60 priority 100 advert_int 1 authentication { auth_type PASS auth_pass 1111 } virtual_ipaddress { 172.20.17.188 dev eth0 label eth0:0 } } # 启动keepalived服务 root@k8s-vip-21:~# systemctl restart keepalived # 验证VIP是否已经在,inet 172.20.17.188/32 scope global eth0:0 这一块已经有了 root@k8s-vip-21:~# ip a 1: lo: <LOOPBACK,UP,LOWER_UP> mtu 65536 qdisc noqueue state UNKNOWN group default qlen 1000 link/loopback 00:00:00:00:00:00 brd 00:00:00:00:00:00 inet 127.0.0.1/8 scope host lo valid_lft forever preferred_lft forever inet6 ::1/128 scope host valid_lft forever preferred_lft forever 2: eth0: <BROADCAST,MULTICAST,UP,LOWER_UP> mtu 1500 qdisc fq_codel state UP group default qlen 1000 link/ether 00:0c:29:31:2c:de brd ff:ff:ff:ff:ff:ff inet 172.20.17.85/24 brd 172.20.17.255 scope global eth0 valid_lft forever preferred_lft forever inet 172.20.17.188/32 scope global eth0:0 valid_lft forever preferred_lft forever inet6 fe80::20c:29ff:fe31:2cde/64 scope link valid_lft forever preferred_lft forever # 拷贝至另外一台服务器上 root@k8s-vip-21:~# scp /etc/keepalived/keepalived.conf root@172.20.17.22:/etc/keepalived/keepalived.conf
修改VIP-22
配置另外一台VIP服务器
1 2 3 4 5 6 7 8 9 10 11 12 13 14 15 16 17 18 19 20 21 22 23 24 25 26 27 28 29 30 root@k8s-vip-22:~# vim /etc/keepalived/keepalived.conf_defs { notification_ email { acassen } notification_email_from Alexandre.Cassen@firewall.loc smtp_server 192.168.200.1 smtp_connect_timeout 30 router_id LVS_DEVEL } vrrp_instance VI_1 { state BACKUP interface eth0 garp_master_delay 10 smtp_alert virtual_router_id 60 priority 80 advert_int 1 authentication { auth_type PASS auth_pass 1111 } virtual_ipaddress { 172.20.17.188 dev eth0 label eth0:0 } } # 启动keepalived服务 root@k8s-vip-22:~# systemctl restart keepalived.service # 要测试的话需要把85这台机器的keepalived停止后看VIP是否漂移到此机器上即可,这里就不做测试,继续往下配置了
3.1.5 配置haproxy 1 2 3 4 5 6 7 8 9 10 11 12 13 14 15 16 17 18 19 20 21 22 23 24 25 26 27 28 29 # 修改haproxy配置文件,先把k8s的api接口地址和端口配置上,还有haproxy的状态页面需要加上
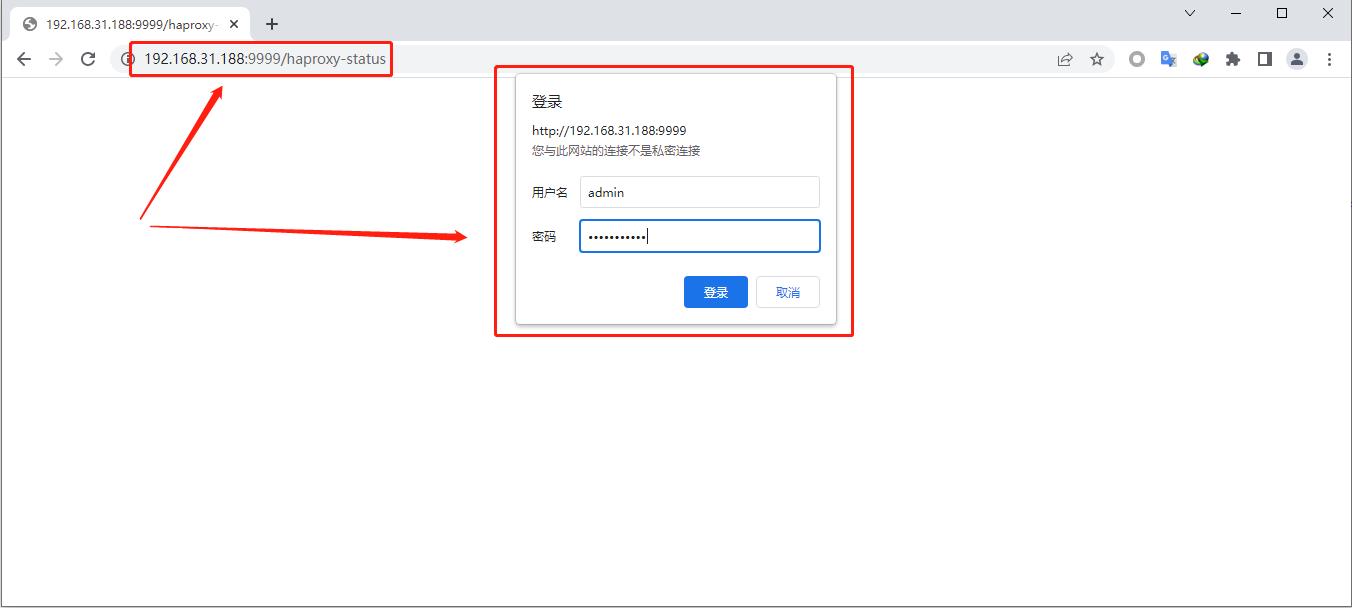
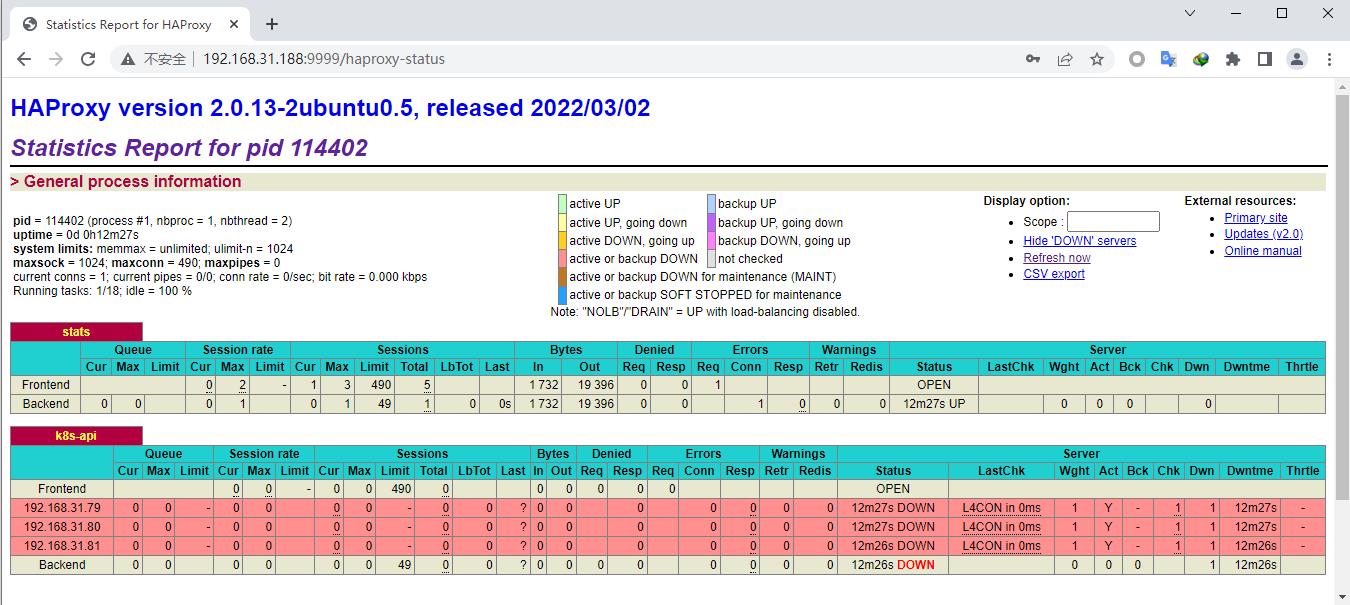
使用浏览器访问测试haproxy状态页面
1 2 3 4 5 6 7 8 9 10 11 12 13 14 15 16 17 18 19 20 21 22 23 24 25 26 27 28 29 30 31 32 33 34 35 36 37 # 拷贝文件到22服务器上 # 验证拷贝过来的配置文件是否一致 # 配置文件没问题后,先不要启动,你直接启的话 它是不行的 VIP的地址没有在当前服务器上,需要添加内核参数让它能正常启动监听服务状态,最好两台服务器上都要添加上 _nonlocal_ bind = 1# 添加完后让其生效 # 修改完内核参数后再启动服务 *
3.1.6 搭建Harbor 3.1.6.1 部署docker 使用二进制部署docker有很多好处例如内网服务器中不可能让每台服务器下载这样会占用网络资源。所以使用二进制版本再结合自动化工具来部署或升级省时又省力
1、下载二进制包
国内阿里云镜像仓库地址: https://mirrors.aliyun.com/docker-ce/linux/static/stable/x86_64/
1 root@harbor-24:~# wget https://mirrors.aliyun.com/docker-ce/linux/static/stable/x86_64/docker-20.10.10.tgz
2、解压docker二进制的压缩包
1 root@harbor-24:~# tar xf docker-20.10.10.tgz
3、查看解压后目录信息
1 2 3 4 5 6 7 8 9 10 11 12 13 14 15 root@harbor-24:~# ls*
4、拷贝docker文件
拿到这么多可执行程序后,但是这些文件要搁哪比较合适呢,就要看你的docker.service文件里怎么定义了,这里还是安装官方的默认路径来放,存放到/usr/bin下
1 2 3 4 root@harbor-24:~# cd docker/
5、编辑docker的service文件
containerd.service docker.service docker.sokect 三个启动文件 也可以通过其他机器上安装好docker中拷贝过来
6、安装docker-compose
docker-compose需要额外在GitHub上下载它的二进制包,下载地址: https://github.com/docker/compose/releases 在上面找到你想下载的版本即可
1 2 3 4 5 # 把上传好的二进制文件作已配置 _64 root@harbor-24:~# cp -a docker-compose-Linux-x86_ 64 /usr/bin/docker-compose
3.1.6.2 安装Harbor 下载所需要的Harbor版本:https://github.com/goharbor/harbor/releases 下载后上传至服务器中
1 2 3 4 5 6 7 8 9 10 11 12 13 14 15 16 17 18 19 20 21 22 23 24 25 26 27 28 29 30 31 32 33 34 35 36 37 38 39 40 41 42 43 44 45 46 47 48 49 50 51 52 53 54 55 56 57 58 59 60 61 62 63 64 # 这里就放到了app目录下 # 进入到当前harbor目录中,拷贝模板文件为Harbor.yml # 在当前目录下创建数据存放目录 # 修改配置文件,内网中用不到https这里给注释掉了 _admin_ password: 123456_idle_ conns: 100_open_ conns: 900_volume: /app/harbor/data # 开始安装--with-trivy 开启镜像的扫描 root@harbor-24:/app/harbor# ./install.sh --with-trivy ..... [Step 5]: starting Harbor ... [+] Running 11/11 ⠿ Network harbor_ harbor Created 0.0s
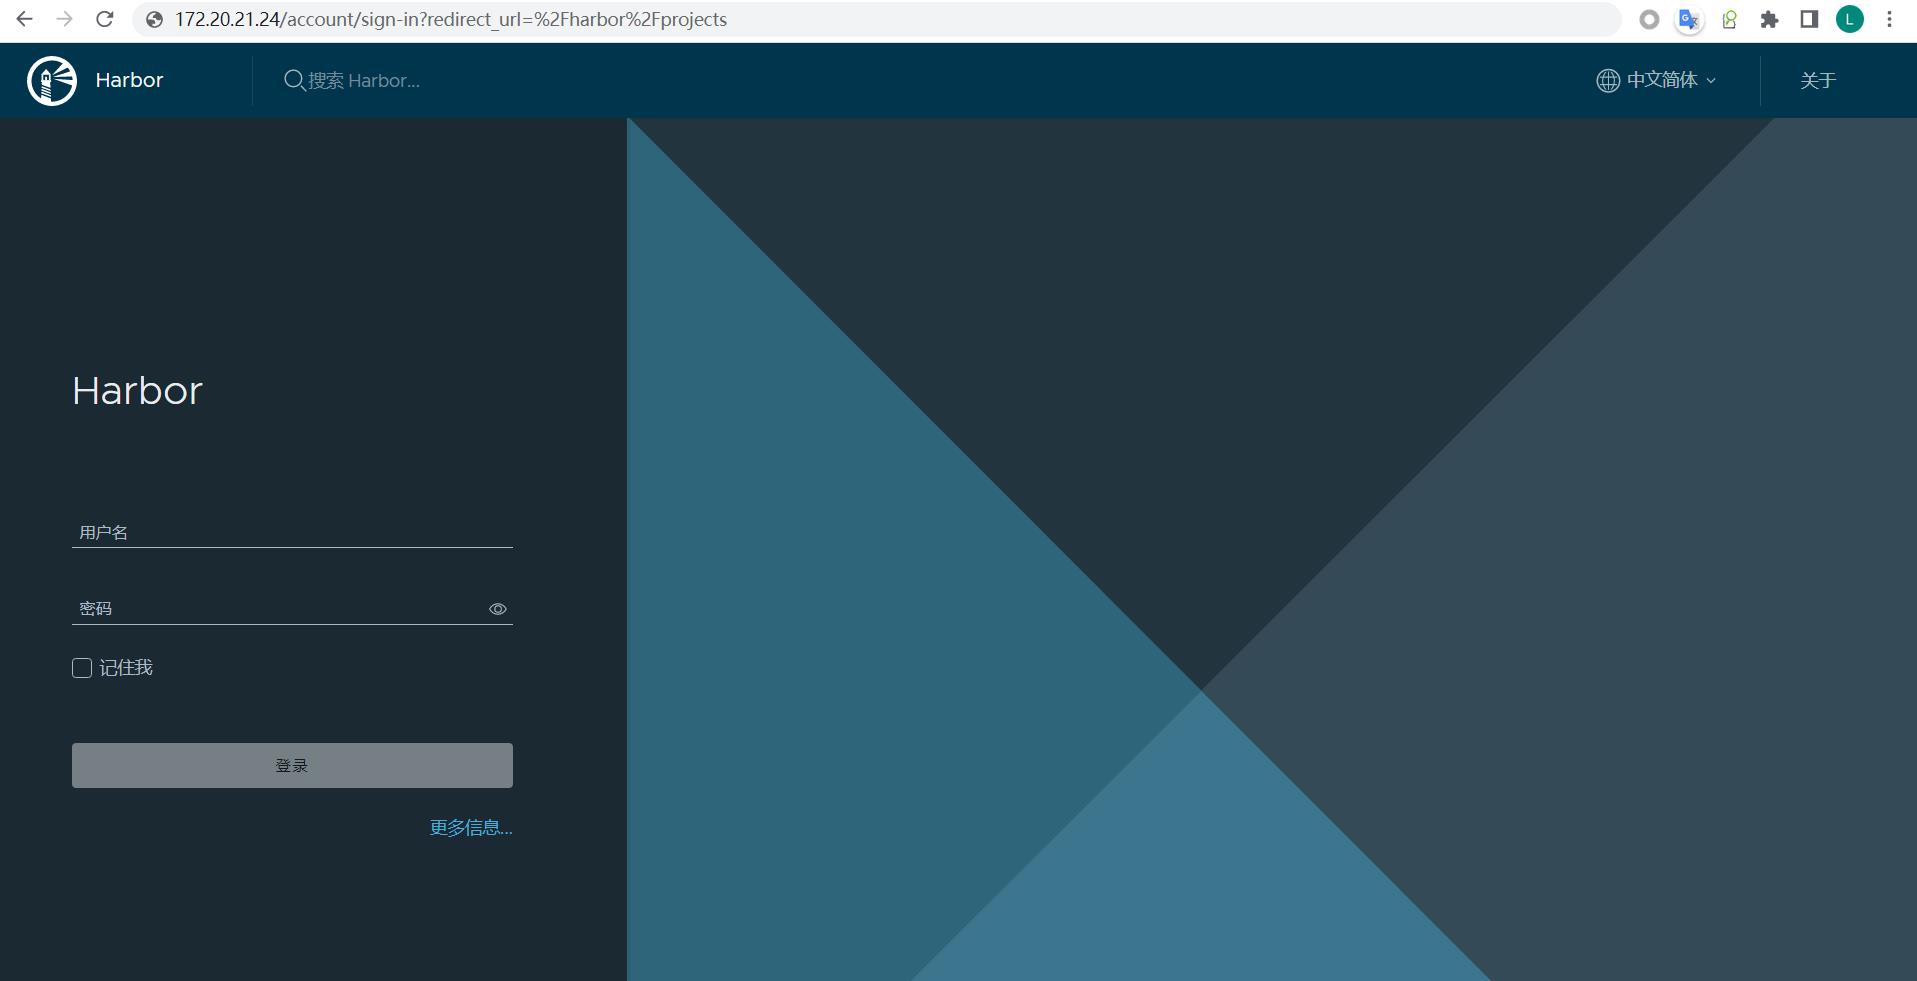
harbor服务起来后通过浏览器访问
这一篇,把前面一些所需要用到的一些环境提前安装完毕,下一章开始安装k8s集群


